
Completed: Morgan Three Wheeler
05 - January - 2014 - 14:55
In the last post, I mentioned converting this model from an air-cooled engine to a water-cooled one.
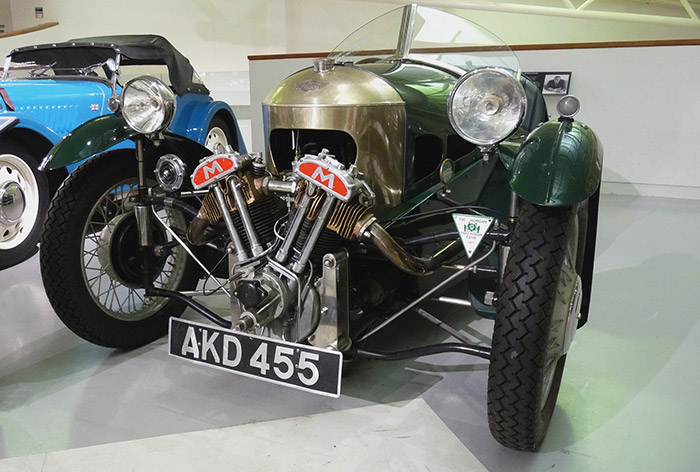
When I began the project, I did my usual reference hunting on the internet. I pulled together a couple dozen images, made myself a printout of a collection of those and got to work. After a little while, I started to find large discrepancies between the model kit and my reference images. What I discovered was that there are a few different engines that all seemed to be used around the same time (mid 1930's). Of those, two were made by Matchless, one of which was air cooled. The differentiating features of the air-cooled engine are the fins on the cylinders and the smaller opening on the cowl behind the engine.
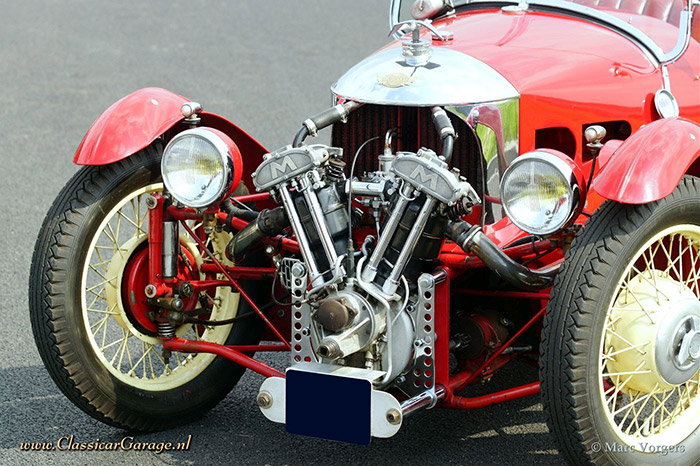
The other Matchless engine was water cooled, which can be spotted by the smooth cylinders, larger cowl opening and pipes going from the tops of the cylinders to the radiator inside the cowl.
The kit had an air-cooled engine, but, like many other parts on this kit, it wasn't a very good rendition. The detail was largely obscured by extra flash and poor mold alignment, even after all of the chrome was stripped off. Aside from that, I really just liked the way that the water cooled engine looked better. So, I decided to make a replacement engine.
I'd been toying with the idea of making model parts in the computer and then having them 3d printed, and this was the perfect opportunity to try it out. This presented a good test case for a number of reasons. First off, this engine is not very big, so many of the details on the engine are on the tiny side of what 3d printers can handle. This meant that I could see how well the details are reproduced when it gets down to the limits of the printers. Also, this let me get the same part printed in two different materials, to see if the higher-detail material was worth the extra cost (spoiler: it was).
So that said, I fired up trusty ol 3dsmax, and modeled up an engine that was sized to fit in place of the kit engine. This took a bit of quality time with the assembled kit engine, some calipers, and lots of careful measuring. What you see below is what I came up with and sent to Shapeways for printing. I sent them two files, one for the engine and one for the radiator.
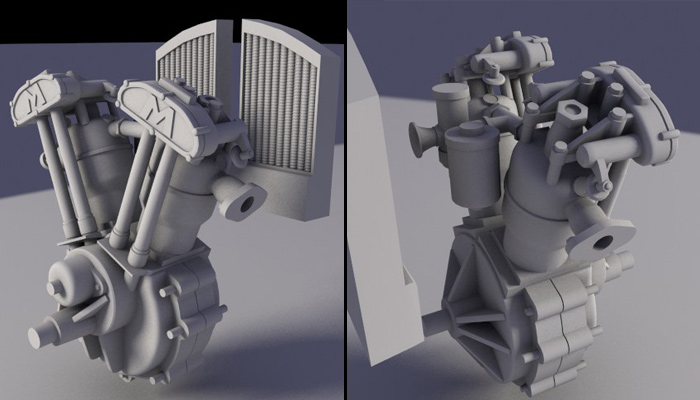
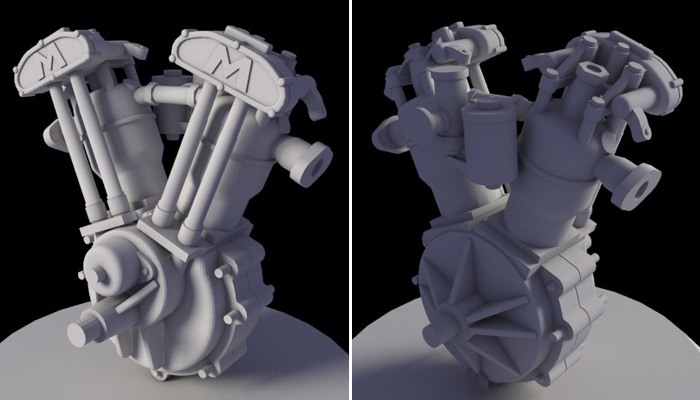
The radiator worked just fine and moved from prep to printing pretty quickly. The engine, on the other hand, got kicked back to me for various reasons. Mostly, it was because of various areas being too thin. Instead of them just trying to print whatever you send them (which is what I thought they would do), they check the file first and let you know if there are any areas that could cause trouble. After a few go-arounds with that process I ended up with the engine model you see below. It has many of the thin bits thickened up, and the valve spring cap things removed entirely.
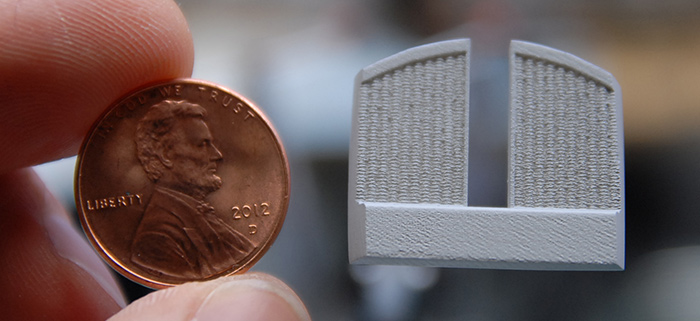
So, while the engine was being printed, the new radiator arrived! What you see below is my first 3d printed model part, cleaned and primed, next to a penny for scale.
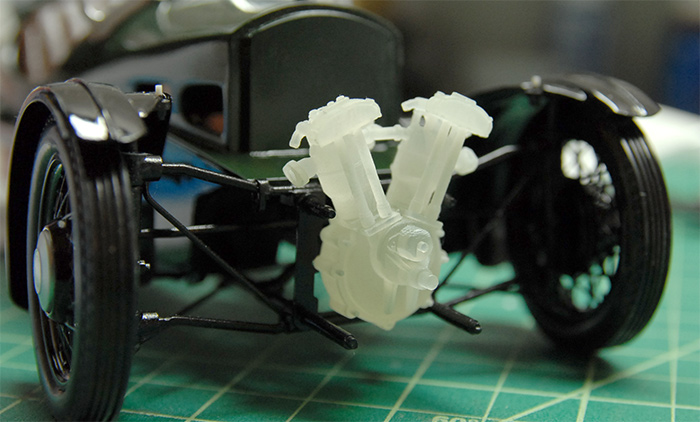
A few weeks later, the 3d printed engine arrived and below you can see my first test fitting, as well as what the raw printed material looks like.
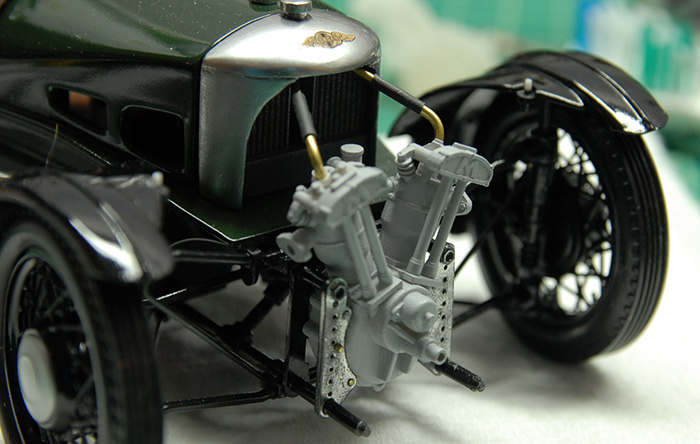
While the initial test fitting went pretty well, later fittings caused a little bit more trouble, as there were quite a few things to get aligned all at once. In the end, I ended up replacing some of the pins that were printed with the engine (the ones that go through the chrome plates) with small brass rod, for durability and so that I could reposition them slightly. Below you can see the final fitting, with radiator piping, made of brass rod and heat-shrink tubing, in place.
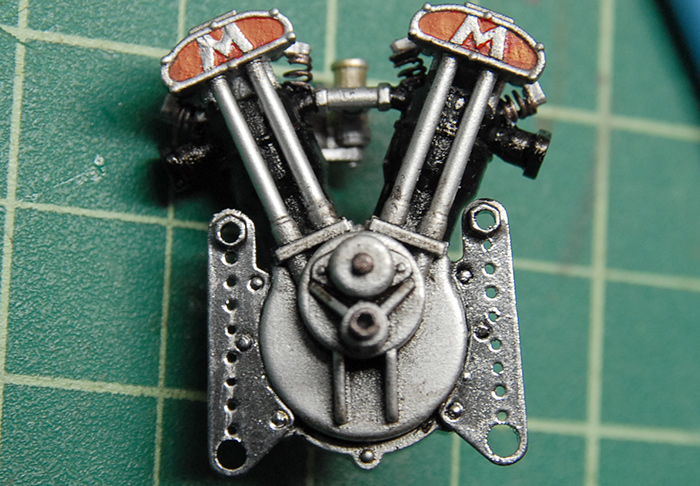
Once I was sure everything would fit, it was time for paint. Below you can see the painted engine, with some valve springs made from wound wire and the front frame plates attached.
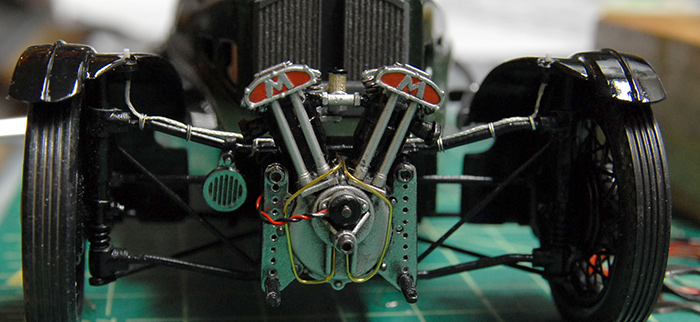
And finally, the finished engine, in place, along with some plumbing (although the radiator pipes are not glued on in this photo), ignition wiring and some wiring to where the headlights will go.
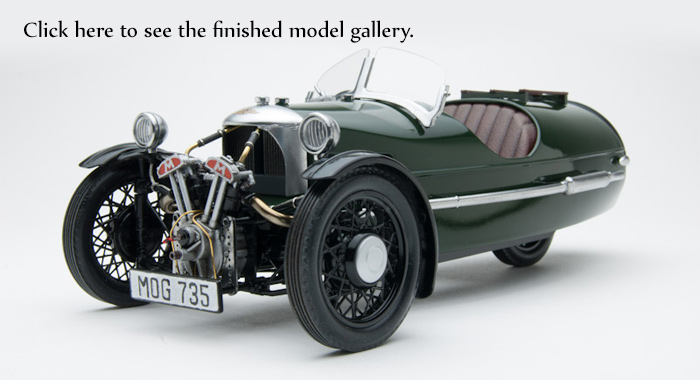
Overall, this was an informative project, and a good test for the 3d printing. Click on the image below to go to the galley of photos of the finished model:
Next up for me is some practice with car paint finishes.
I've also got something bigger in the works, which I'll reveal here once it's a bit closer to being ready ;)
Thanks for reading!
When I began the project, I did my usual reference hunting on the internet. I pulled together a couple dozen images, made myself a printout of a collection of those and got to work. After a little while, I started to find large discrepancies between the model kit and my reference images. What I discovered was that there are a few different engines that all seemed to be used around the same time (mid 1930's). Of those, two were made by Matchless, one of which was air cooled. The differentiating features of the air-cooled engine are the fins on the cylinders and the smaller opening on the cowl behind the engine.
The other Matchless engine was water cooled, which can be spotted by the smooth cylinders, larger cowl opening and pipes going from the tops of the cylinders to the radiator inside the cowl.
The kit had an air-cooled engine, but, like many other parts on this kit, it wasn't a very good rendition. The detail was largely obscured by extra flash and poor mold alignment, even after all of the chrome was stripped off. Aside from that, I really just liked the way that the water cooled engine looked better. So, I decided to make a replacement engine.
I'd been toying with the idea of making model parts in the computer and then having them 3d printed, and this was the perfect opportunity to try it out. This presented a good test case for a number of reasons. First off, this engine is not very big, so many of the details on the engine are on the tiny side of what 3d printers can handle. This meant that I could see how well the details are reproduced when it gets down to the limits of the printers. Also, this let me get the same part printed in two different materials, to see if the higher-detail material was worth the extra cost (spoiler: it was).
So that said, I fired up trusty ol 3dsmax, and modeled up an engine that was sized to fit in place of the kit engine. This took a bit of quality time with the assembled kit engine, some calipers, and lots of careful measuring. What you see below is what I came up with and sent to Shapeways for printing. I sent them two files, one for the engine and one for the radiator.
The radiator worked just fine and moved from prep to printing pretty quickly. The engine, on the other hand, got kicked back to me for various reasons. Mostly, it was because of various areas being too thin. Instead of them just trying to print whatever you send them (which is what I thought they would do), they check the file first and let you know if there are any areas that could cause trouble. After a few go-arounds with that process I ended up with the engine model you see below. It has many of the thin bits thickened up, and the valve spring cap things removed entirely.
So, while the engine was being printed, the new radiator arrived! What you see below is my first 3d printed model part, cleaned and primed, next to a penny for scale.
A few weeks later, the 3d printed engine arrived and below you can see my first test fitting, as well as what the raw printed material looks like.
While the initial test fitting went pretty well, later fittings caused a little bit more trouble, as there were quite a few things to get aligned all at once. In the end, I ended up replacing some of the pins that were printed with the engine (the ones that go through the chrome plates) with small brass rod, for durability and so that I could reposition them slightly. Below you can see the final fitting, with radiator piping, made of brass rod and heat-shrink tubing, in place.
Once I was sure everything would fit, it was time for paint. Below you can see the painted engine, with some valve springs made from wound wire and the front frame plates attached.
And finally, the finished engine, in place, along with some plumbing (although the radiator pipes are not glued on in this photo), ignition wiring and some wiring to where the headlights will go.
Overall, this was an informative project, and a good test for the 3d printing. Click on the image below to go to the galley of photos of the finished model:
Next up for me is some practice with car paint finishes.
I've also got something bigger in the works, which I'll reveal here once it's a bit closer to being ready ;)
Thanks for reading!
blog comments powered by Disqus