
February 2014
Resin and More Resin!
25 - February - 2014 - 20:25
So, at the conclusion of my last post, I was all ready to spend a bunch of time practicing car paint finishes. Well, I did that briefly and discovered that it was pretty boring. Without a real end goal to aim for, I lost interest pretty quickly. So, since I am dealing with some resin-related things in a side project, I decided that I should to a side-by-side build of two resin kits that have been in my collection for a while. They are similarly themed, both being walking tank sorts of designs, but they are very different kits.
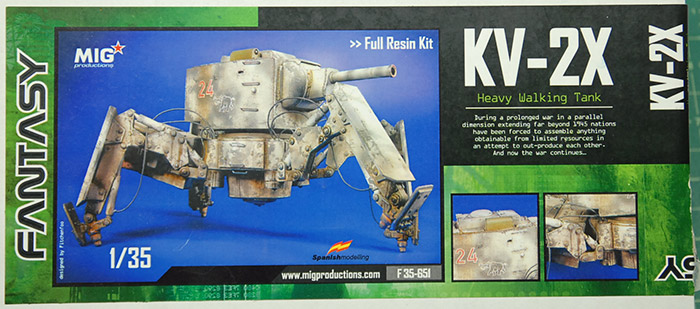
First of the two is a heavy walking tank kit from MIG Productions, who are more commonly known for their pigments:
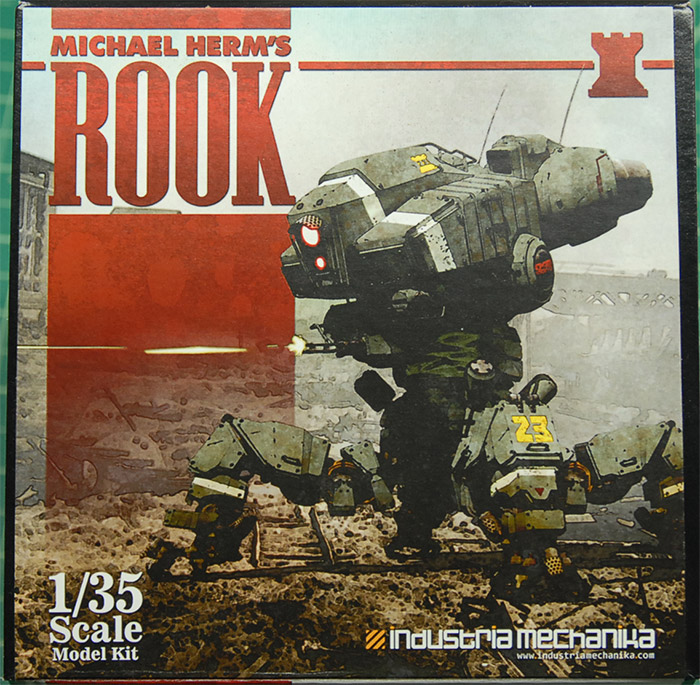
Along with that kit, I'll be building a more futuristic walking tank kit, the Rook, from Industria Mechanika:
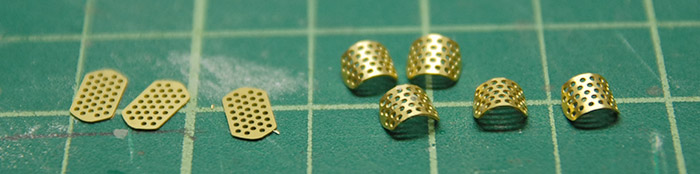
Before I get into construction, let's compare and contrast the two kits. Industria Mechanika's kit consists of a very large number of parts (many of which are in the bags seen below), cast in an opaque grey resin. This is accompanied by a few pieces if brass rod, to be bent into grab handles and two sheets of photo-etch. It also includes two figures in the form of pilots that fit into the cockpit seats.
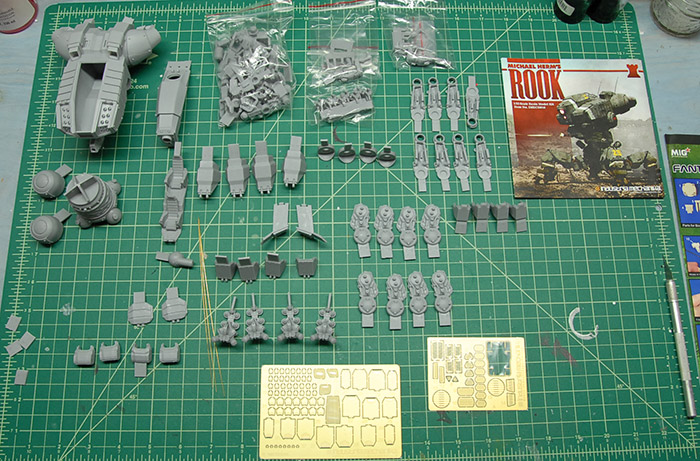
The casting quality is some of the best I've ever seen on a resin kit, with most of the parts having a small tab left on them, which doubles as part identification numbering. Generally, though, there are almost no large pour blocks on any of the parts. There are a few areas where a thin sheet of resin is left, that needs to be trimmed away, but I personally find this to be much easier than having to cut/sand a large block of resin away. The quality of the resin on this kit is very plastic-like, in that is is not too brittle and carves easily with an x-acto blade.
The MIG kit is cast from a tan resin, which is a bit more standard in cast resin parts. This kit is nearly all resin, with a bit of tubing for hydraulic hoses.
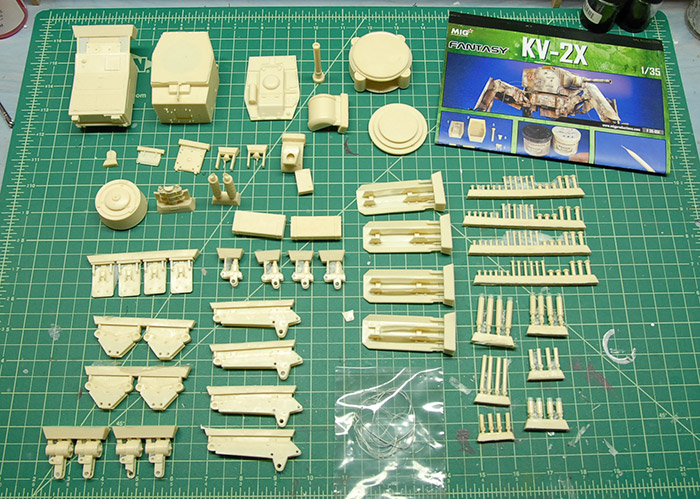
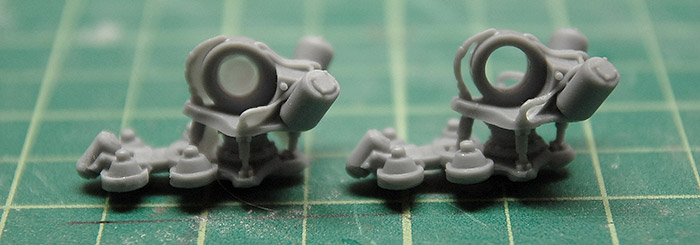
This resin is a bit more brittle than the grey resin seen above and has the more commonly found pour blocks, bubbles and need for a great deal of clean up. It also requires a good deal more shaping, drilling, etc in order to get it all to go together. Overall, though, the fidelity of the parts is still good. Below you can see some of the parts with their pour blocks still attached.

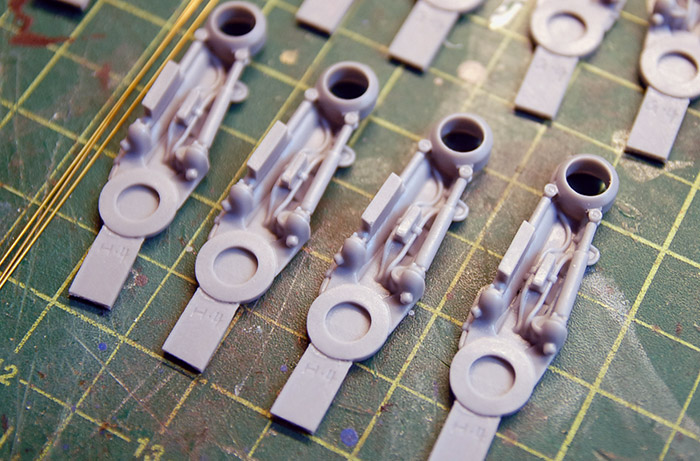
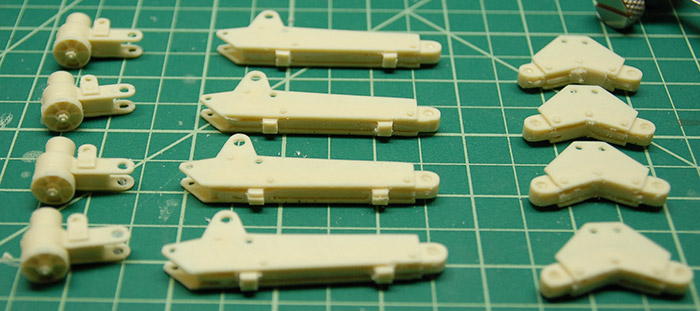
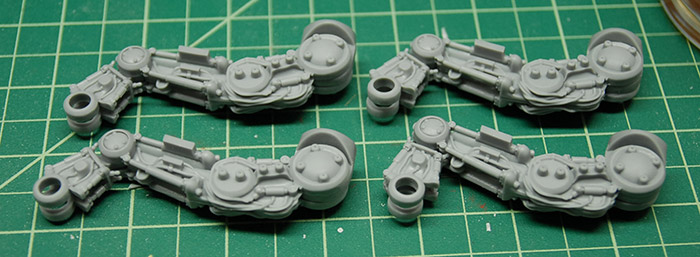
I decided to get started with the MIG model, beginning with the legs. I found that most of the leg length, on the outside, would eventually be covered by an armor plate, so I did a fairly rough clean up job. Below you can see the trimmed parts, with the various hinge holes drilled out.
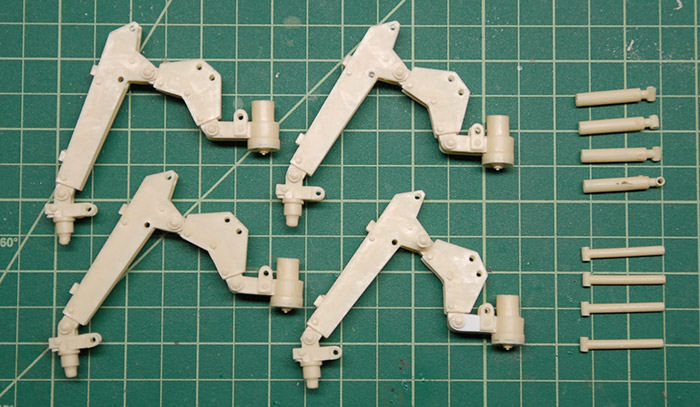
These legs are held together by resin pins that go through the drilled out holes. Then, the leg position is held by hydraulics, part of which needs to be cut to length. This means that each leg consists of four main parts and a bunch of pins and cylinders that hold the big parts together. Below you can see the four legs with the pins in (not glued yet), but without any of the hydraulics.
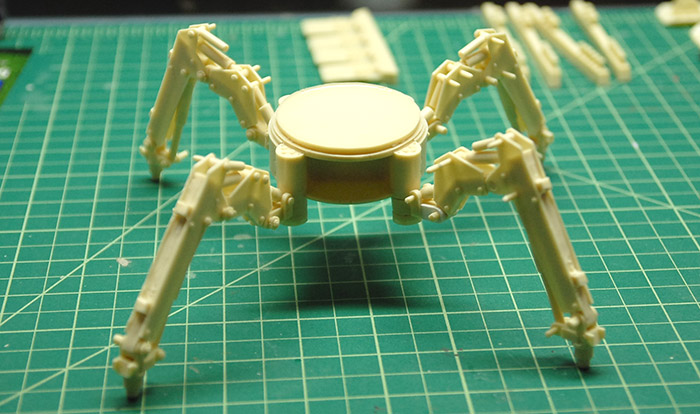
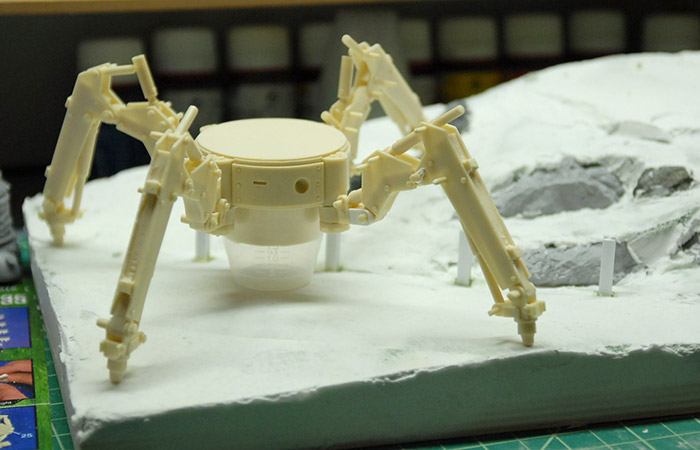
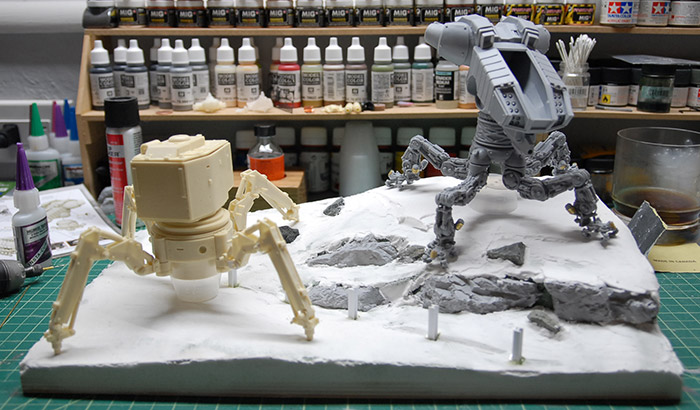
Next, I put the hydraulics in place, but just kinda stuck on there, so that the legs were easily positionable. Then, using some museum tack, I stuck the legs onto the central body part, making sure that they all fit, etc. Below you can see it standing on it's own (although precariously, since nothing has been glued yet).
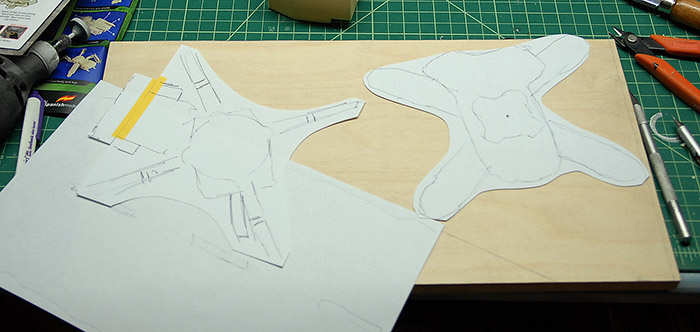
It was at this point that I realized that in order to be able to glue the legs into the correct positions, I'd need to know what they were standing on. This meant that I needed to stop the leg building and start figuring out what the diorama was going to look like. I decided on a rough base size, and then made myself some handy paper cutouts that were about the size of the finished tanks. In order to get an idea of the Rook kits size, I rubber-banded together one leg, stuck it to the body and guessed from there. Below you can see my two tank cutouts and my indication of where I wanted a road to be running. I got the width of the road by taking a standard two lane road with and dividing by 35, since the tanks are 1/35 scale.
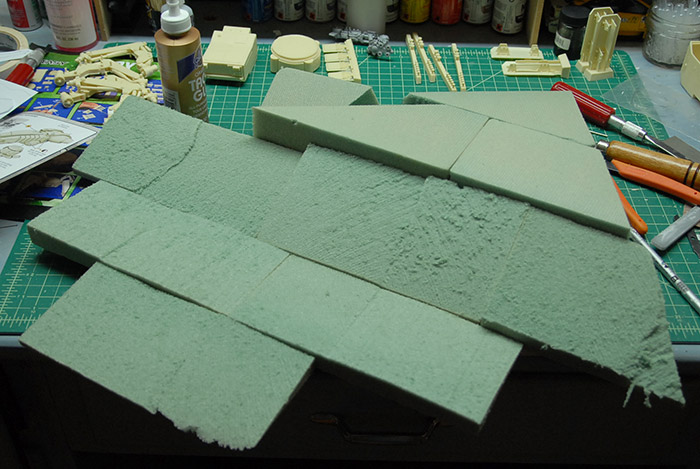
My idea was to have a road running through the scene, with a bit of a rocky hill next to it, separated by a guard rail. This meant I could have some interesting terrain, with both tanks in there, but separated a bit by both height and what they are standing on. I'm hoping to get a few figures in there as well, but that is for a later blog post. In order to get a base to work with, I just cut a piece if 1/2" plywood down to size and got myself a bunch of floral foam from the craft store. Below you can see it roughly cut and glued to the board.
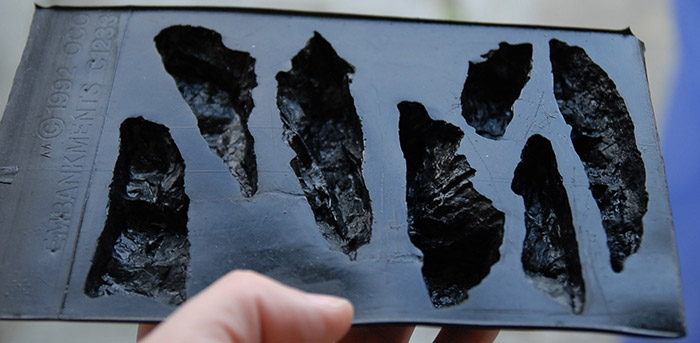
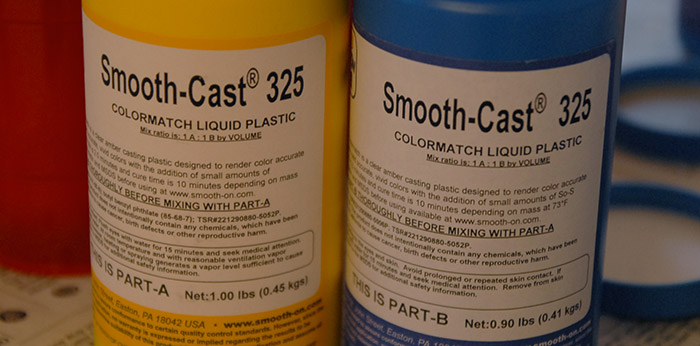
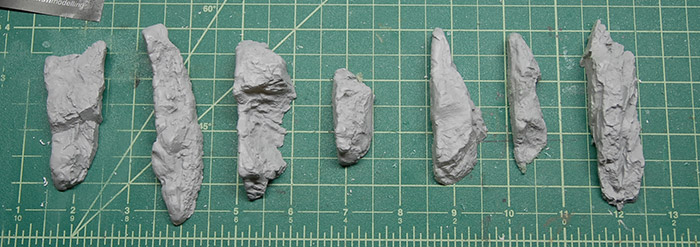
Next, I kicked around a few ideas for large rocks and was planning to use some stones I found outside, along with some sculpting, but then I ran across these rock molds when I was at one of my local hobby shops. The mold was only about $10, and I knew my wife had some two-part plastic resin at home that I could appropriate, so I bought the mold and decided to give it a try. Below you can see the mold, which I believe was intended for railroad decoration building.
First of the two is a heavy walking tank kit from MIG Productions, who are more commonly known for their pigments:
Along with that kit, I'll be building a more futuristic walking tank kit, the Rook, from Industria Mechanika:
Before I get into construction, let's compare and contrast the two kits. Industria Mechanika's kit consists of a very large number of parts (many of which are in the bags seen below), cast in an opaque grey resin. This is accompanied by a few pieces if brass rod, to be bent into grab handles and two sheets of photo-etch. It also includes two figures in the form of pilots that fit into the cockpit seats.
The casting quality is some of the best I've ever seen on a resin kit, with most of the parts having a small tab left on them, which doubles as part identification numbering. Generally, though, there are almost no large pour blocks on any of the parts. There are a few areas where a thin sheet of resin is left, that needs to be trimmed away, but I personally find this to be much easier than having to cut/sand a large block of resin away. The quality of the resin on this kit is very plastic-like, in that is is not too brittle and carves easily with an x-acto blade.
The MIG kit is cast from a tan resin, which is a bit more standard in cast resin parts. This kit is nearly all resin, with a bit of tubing for hydraulic hoses.
This resin is a bit more brittle than the grey resin seen above and has the more commonly found pour blocks, bubbles and need for a great deal of clean up. It also requires a good deal more shaping, drilling, etc in order to get it all to go together. Overall, though, the fidelity of the parts is still good. Below you can see some of the parts with their pour blocks still attached.
I decided to get started with the MIG model, beginning with the legs. I found that most of the leg length, on the outside, would eventually be covered by an armor plate, so I did a fairly rough clean up job. Below you can see the trimmed parts, with the various hinge holes drilled out.
These legs are held together by resin pins that go through the drilled out holes. Then, the leg position is held by hydraulics, part of which needs to be cut to length. This means that each leg consists of four main parts and a bunch of pins and cylinders that hold the big parts together. Below you can see the four legs with the pins in (not glued yet), but without any of the hydraulics.
Next, I put the hydraulics in place, but just kinda stuck on there, so that the legs were easily positionable. Then, using some museum tack, I stuck the legs onto the central body part, making sure that they all fit, etc. Below you can see it standing on it's own (although precariously, since nothing has been glued yet).
It was at this point that I realized that in order to be able to glue the legs into the correct positions, I'd need to know what they were standing on. This meant that I needed to stop the leg building and start figuring out what the diorama was going to look like. I decided on a rough base size, and then made myself some handy paper cutouts that were about the size of the finished tanks. In order to get an idea of the Rook kits size, I rubber-banded together one leg, stuck it to the body and guessed from there. Below you can see my two tank cutouts and my indication of where I wanted a road to be running. I got the width of the road by taking a standard two lane road with and dividing by 35, since the tanks are 1/35 scale.
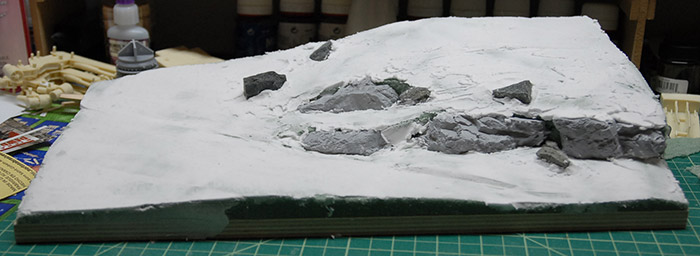
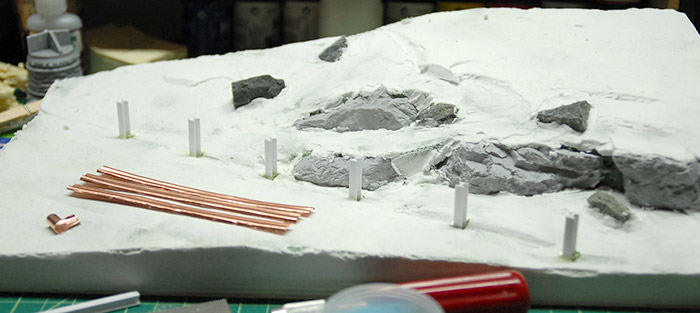
My idea was to have a road running through the scene, with a bit of a rocky hill next to it, separated by a guard rail. This meant I could have some interesting terrain, with both tanks in there, but separated a bit by both height and what they are standing on. I'm hoping to get a few figures in there as well, but that is for a later blog post. In order to get a base to work with, I just cut a piece if 1/2" plywood down to size and got myself a bunch of floral foam from the craft store. Below you can see it roughly cut and glued to the board.
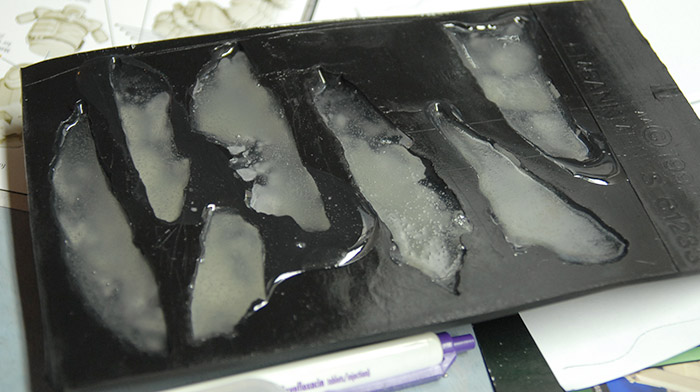
Next, I kicked around a few ideas for large rocks and was planning to use some stones I found outside, along with some sculpting, but then I ran across these rock molds when I was at one of my local hobby shops. The mold was only about $10, and I knew my wife had some two-part plastic resin at home that I could appropriate, so I bought the mold and decided to give it a try. Below you can see the mold, which I believe was intended for railroad decoration building.