
Strings and Things
30 - May - 2011 - 16:28
At the end of the last update, I had assembled most of the wooden components of the fuselage. Since then, almost all of the rest of the wooden parts have been attached, the whole thing has been stained, and I've added a few coats of polyurethane. I'm now on to an intermediate step of adding many of the rigging strings to the back half of the fuselage before starting to add the various controls and engine parts to the front half.
With that in mind, here are some photos of what I've been up to, along with brief explanations.
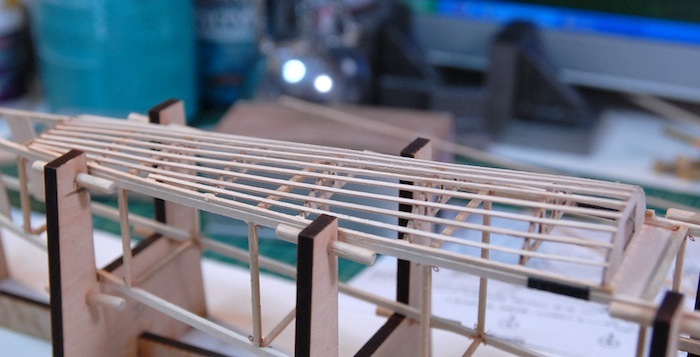
Below is an image of the turtleback all assembled. It turns out that it would have probably been a better idea to assemble this off of the main fuselage, and then add it later, as it ended up making some of the rigging a bit harder.
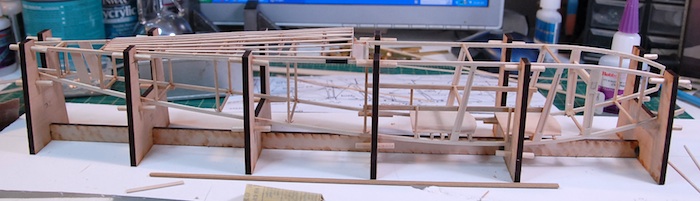
Here is the whole fuselage right after having the turtleback attached and right before staining.
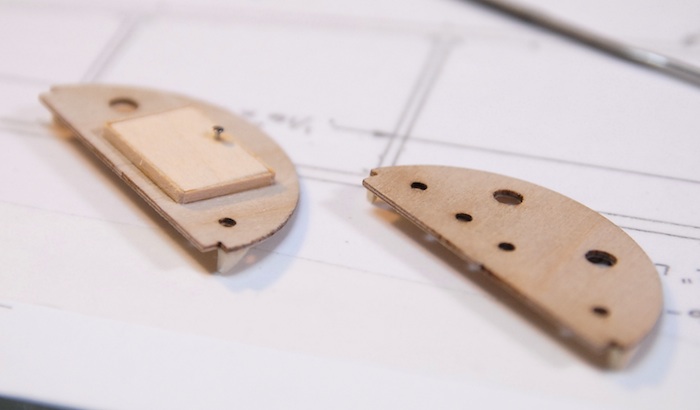
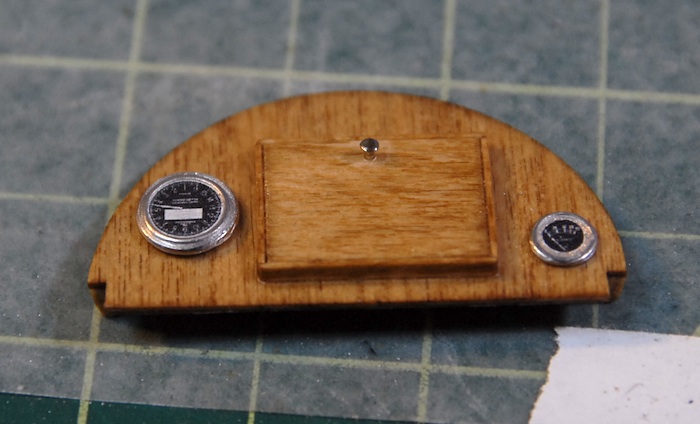
Here are the two control panels. The front one (for the navigator) has a little scratch-built map case. Although it's a little blurry in this image, the knob for the map case door is made from a pin head. I've left the dials and such off, as I wanted to stain and polyurethane the parts first.
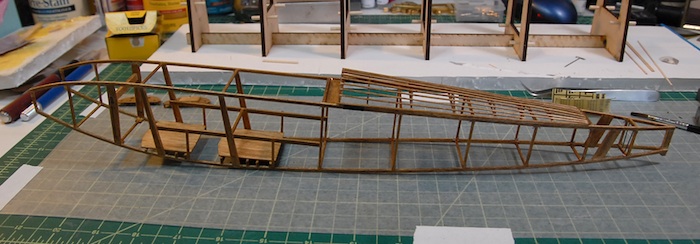
Here is the fuselage right after staining.
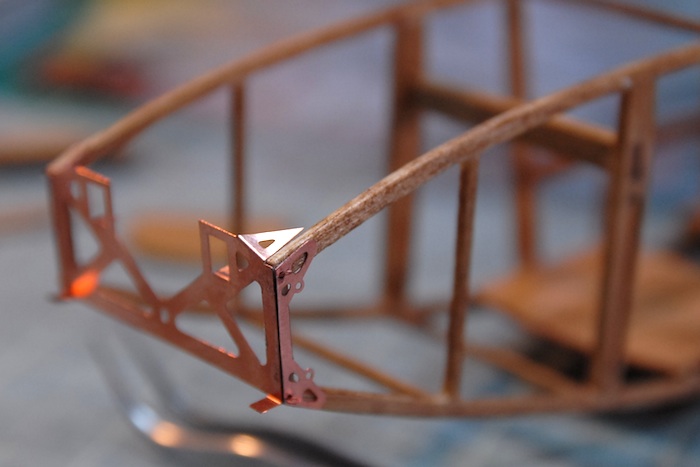
Once the stain and polyurethane were on there, I could start gluing on some of the photo-etch metal parts. Here is a close-up of the frame that goes in front of the engine.
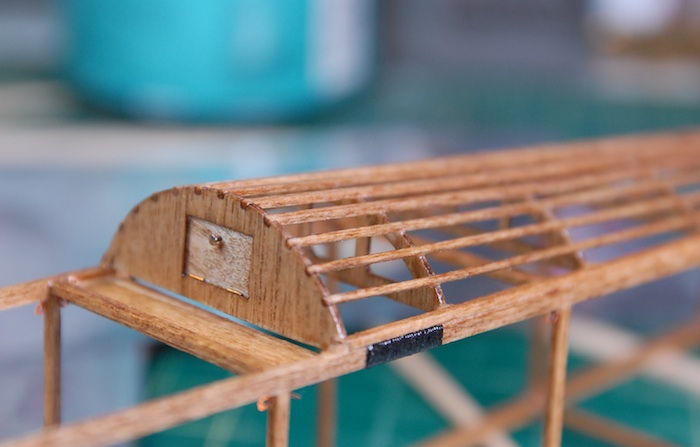
Here is a close-up of the little door that is at the front end of the turtleback.
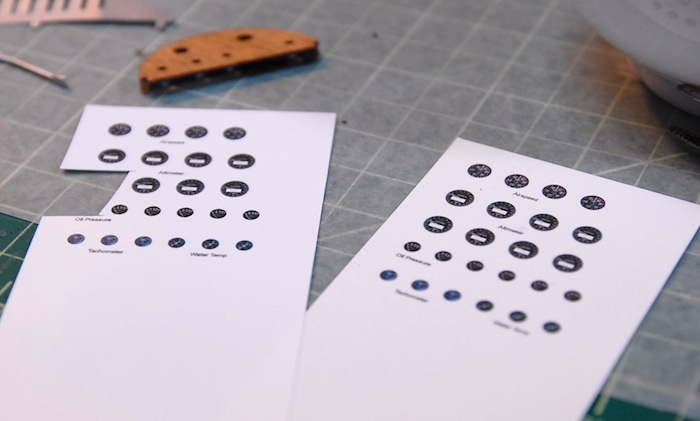
Next up was something new to me: printing my own decals. The kit doesn't provide any sort of instrumentation graphics, but rather only comes with the cast metal base parts. I thought this might be a good excuse to try my hand at making decals. I picked up a package of ink-jet-printer decal sheets and a can of decal sealer at my local hobby shop and then spent a few hours scouring the internet for images of old airplane gauges. With some cleanup work in Photoshop, and a bit of experimentation with the printer, I was able to print myself a few sheets of gauges. The sheets below have so many because I wasn't sure how tough the decals would be, and fully expected to ruin a few before getting one to transfer correctly. I also printed one set on a clear sheet and one on a white sheet. It turned out that the decals held up great and the white-backed ones looked good, so I have lots of extra gauges now.
Here you can see a few of the gauge decals in place. Once all was said and done, I think they ended up a bit smaller than I would like, but I had erred on the small side to be sure that they would fit in the tiny embossed ring of the cast metal part.
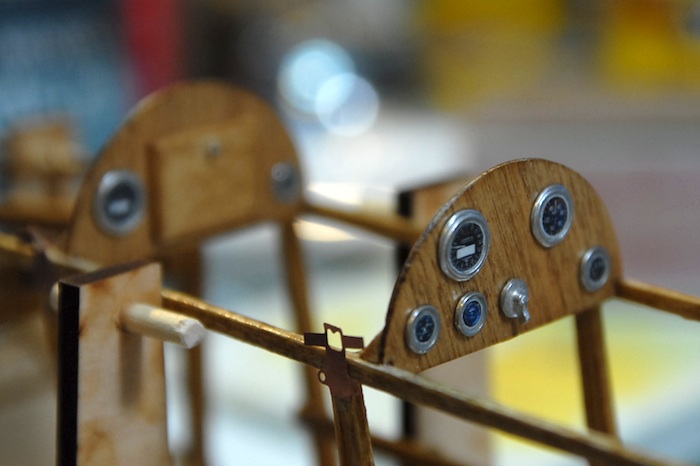
Here are the two completed control panels in place and with all decals applied.
A few more photo-etched parts in place. The half-circle one is where the pilots step is, used to step up into the plane.

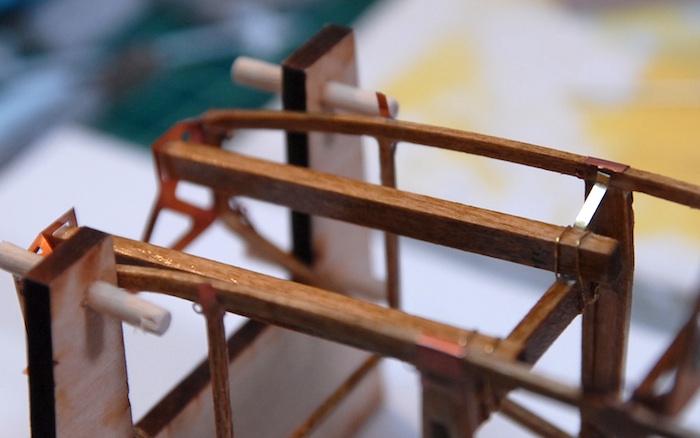
The engine-bearing supports, with various straps, wires, etc, holding them in place.
Finally, a sneak preview of the (in progress) next fun-filled step: Rigging the fuselage.

Thanks for tuning in! Hopefully next update will see the fuselage complete and work on the engine beginning.
With that in mind, here are some photos of what I've been up to, along with brief explanations.
Below is an image of the turtleback all assembled. It turns out that it would have probably been a better idea to assemble this off of the main fuselage, and then add it later, as it ended up making some of the rigging a bit harder.
Here is the whole fuselage right after having the turtleback attached and right before staining.
Here are the two control panels. The front one (for the navigator) has a little scratch-built map case. Although it's a little blurry in this image, the knob for the map case door is made from a pin head. I've left the dials and such off, as I wanted to stain and polyurethane the parts first.
Here is the fuselage right after staining.
Once the stain and polyurethane were on there, I could start gluing on some of the photo-etch metal parts. Here is a close-up of the frame that goes in front of the engine.
Here is a close-up of the little door that is at the front end of the turtleback.
Next up was something new to me: printing my own decals. The kit doesn't provide any sort of instrumentation graphics, but rather only comes with the cast metal base parts. I thought this might be a good excuse to try my hand at making decals. I picked up a package of ink-jet-printer decal sheets and a can of decal sealer at my local hobby shop and then spent a few hours scouring the internet for images of old airplane gauges. With some cleanup work in Photoshop, and a bit of experimentation with the printer, I was able to print myself a few sheets of gauges. The sheets below have so many because I wasn't sure how tough the decals would be, and fully expected to ruin a few before getting one to transfer correctly. I also printed one set on a clear sheet and one on a white sheet. It turned out that the decals held up great and the white-backed ones looked good, so I have lots of extra gauges now.
Here you can see a few of the gauge decals in place. Once all was said and done, I think they ended up a bit smaller than I would like, but I had erred on the small side to be sure that they would fit in the tiny embossed ring of the cast metal part.
Here are the two completed control panels in place and with all decals applied.
A few more photo-etched parts in place. The half-circle one is where the pilots step is, used to step up into the plane.
The engine-bearing supports, with various straps, wires, etc, holding them in place.
Finally, a sneak preview of the (in progress) next fun-filled step: Rigging the fuselage.
Thanks for tuning in! Hopefully next update will see the fuselage complete and work on the engine beginning.
blog comments powered by Disqus