
June 2011
Engine and Deskcam
26 - June - 2011 - 20:49
The Engine!
So, I've finally arrived at the reason that I purchased this kit in the first place: the engine. I was completely taken by the engine detail in the product images and wanted a shot at making that same engine and perhaps even improving upon it. The engine, fuel tank and radiator are all mostly made up of cast Britannia metal, which is a mixture of tin, antimony and copper. These parts are all delivered in the kit as raw castings, which gives them a dull surface and sometimes rough details.
Some of the raw engine block castings:
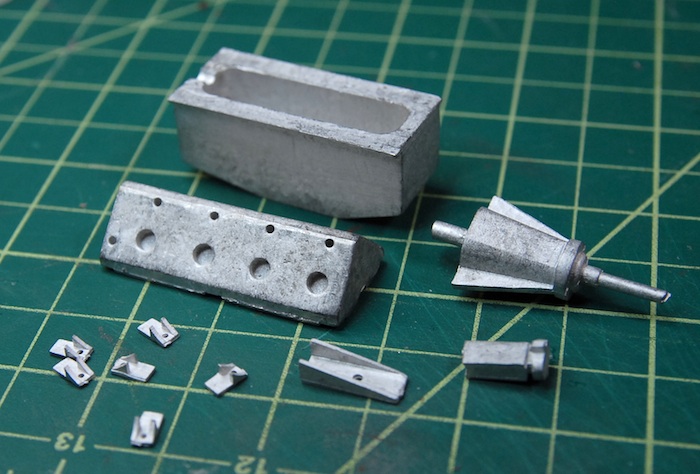
This means that the bulk of the work on the engine is the cleanup, sanding and polishing of these parts, in order to bring them up to a quality finish that complements the rest of the kit. I'm currently wearing through various sanding sticks and a few bits of sandpaper, but I've got some higher grit sandpaper arriving tomorrow, which should make short work of getting these parts in order.
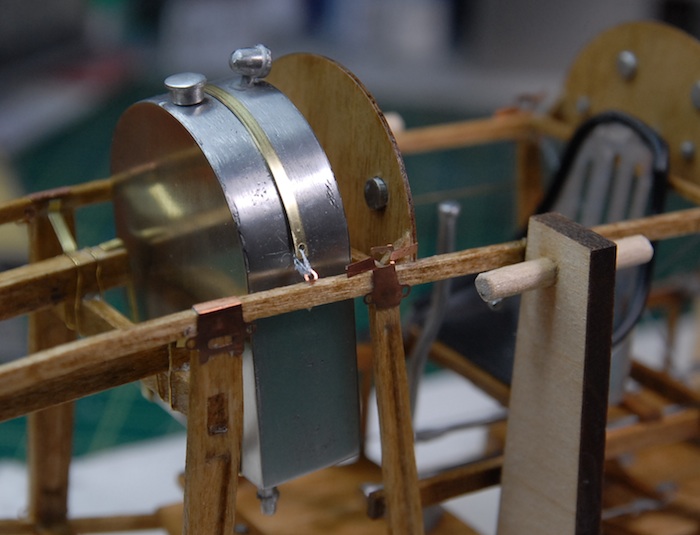
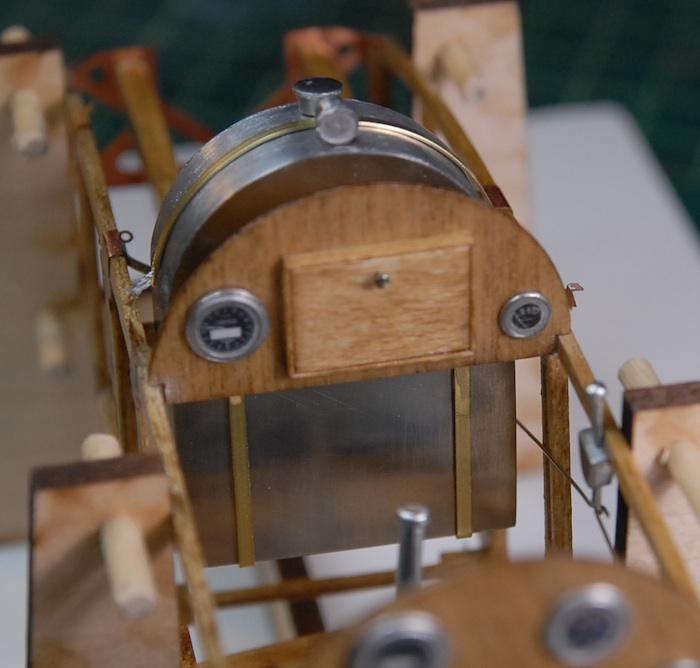
First item to be added was the fuel tank, which was actually a combination of a cast metal frame and photo-etch front and back plates. Here you can see some pictures of the final product after quite a bit of sanding, polishing and a bit of buffing with the ol Dremel. Added to that are three other separately-cast parts, the fuel cap and fuel gauge on the top and sediment trap hanging off of the bottom. This tank is held in place by three brass strips, two cradling it underneath and one over the top.
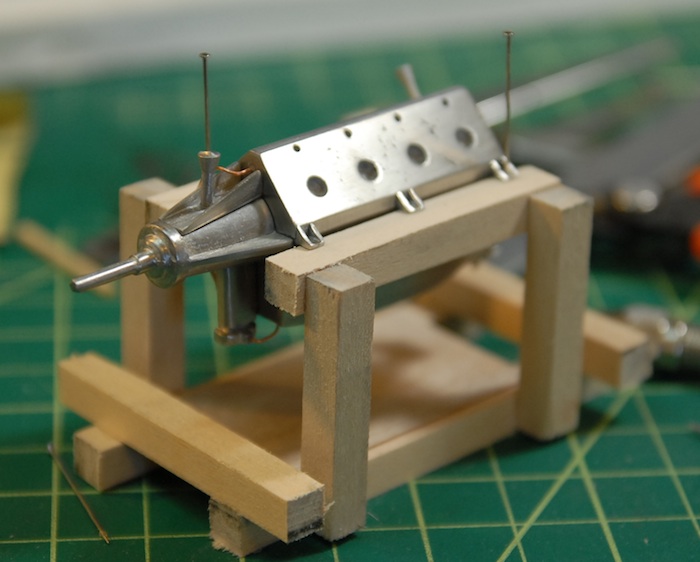
Next up was the engine block itself. For a little while I was working with the block, unattached from the fuselage, but once I started adding more parts, this seemed less and less practical. So, I took a bit of scrap wood and built a little engine stand for it. Here you can see the engine cleaned up a bit and mounted on the temporary stand.
Stay tuned for more additions to the engine as work continues!
Desk Cam Gets a New Computer and Comes Back to Life!
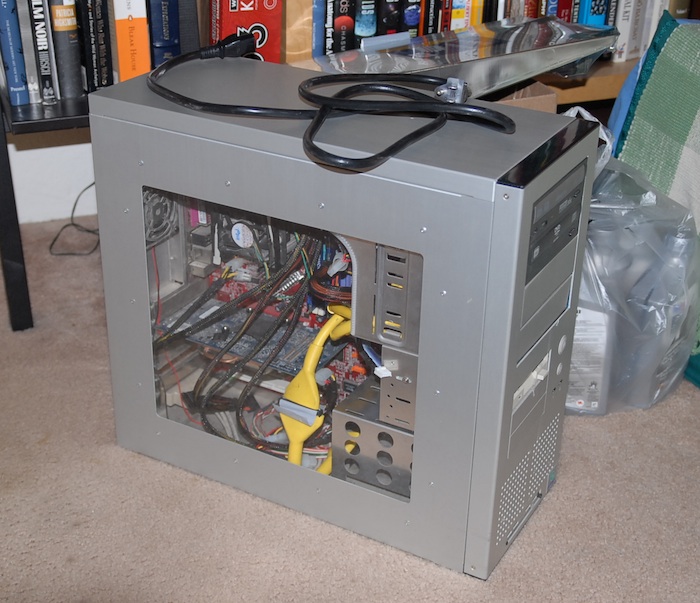
As, I'm sure, many of you noticed (or perhaps didn't notice), the computer that runs my model desk web cam and time-lapse camera managed to die a couple of weeks ago. I think the culprit was the local power company replacing a nearby transformer combined with the computer power supply being on its last legs. Whatever the cause, when the power supply failed it took the motherboard with it, so now all the computer is good for (after I replaced the fried power supply) is moving a bit of air around. Yup, the only things that seem to still work are all of the fans. Alas, poor computer, I knew it well.
As the untimely demise of my model desk computer left me without a way to run my time-lapse camera and no way to update my desk cam web page, I had to find a new way to run things. Fortunately, I still had my old laptop computer in a closet (actually, the original desk-cam computer ALSO came back to life out of a closet), which I thought might be able to be used in a pinch. So, today I dragged it out, plugged it into all of the appropriate cables, updated and installed various bits of software, and now have a whole new computer running under my model desk!
Rest in Pieces, old model desk computer.
:(
Long live the new model desk computer!
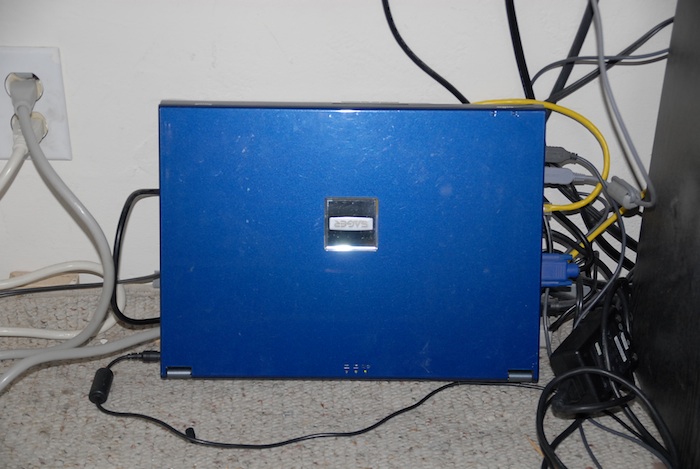
The upside here, is that I've gained a great deal more leg room under the model desk and probably will save a little bit of electricity. Here's the current state of the model desk, including new computer and such:

That's all for now. Tune in next time for more engine progress and hopefully no further news about the model desk computer ;)
So, I've finally arrived at the reason that I purchased this kit in the first place: the engine. I was completely taken by the engine detail in the product images and wanted a shot at making that same engine and perhaps even improving upon it. The engine, fuel tank and radiator are all mostly made up of cast Britannia metal, which is a mixture of tin, antimony and copper. These parts are all delivered in the kit as raw castings, which gives them a dull surface and sometimes rough details.
Some of the raw engine block castings:
This means that the bulk of the work on the engine is the cleanup, sanding and polishing of these parts, in order to bring them up to a quality finish that complements the rest of the kit. I'm currently wearing through various sanding sticks and a few bits of sandpaper, but I've got some higher grit sandpaper arriving tomorrow, which should make short work of getting these parts in order.
First item to be added was the fuel tank, which was actually a combination of a cast metal frame and photo-etch front and back plates. Here you can see some pictures of the final product after quite a bit of sanding, polishing and a bit of buffing with the ol Dremel. Added to that are three other separately-cast parts, the fuel cap and fuel gauge on the top and sediment trap hanging off of the bottom. This tank is held in place by three brass strips, two cradling it underneath and one over the top.
Next up was the engine block itself. For a little while I was working with the block, unattached from the fuselage, but once I started adding more parts, this seemed less and less practical. So, I took a bit of scrap wood and built a little engine stand for it. Here you can see the engine cleaned up a bit and mounted on the temporary stand.
Stay tuned for more additions to the engine as work continues!
Desk Cam Gets a New Computer and Comes Back to Life!
As, I'm sure, many of you noticed (or perhaps didn't notice), the computer that runs my model desk web cam and time-lapse camera managed to die a couple of weeks ago. I think the culprit was the local power company replacing a nearby transformer combined with the computer power supply being on its last legs. Whatever the cause, when the power supply failed it took the motherboard with it, so now all the computer is good for (after I replaced the fried power supply) is moving a bit of air around. Yup, the only things that seem to still work are all of the fans. Alas, poor computer, I knew it well.
As the untimely demise of my model desk computer left me without a way to run my time-lapse camera and no way to update my desk cam web page, I had to find a new way to run things. Fortunately, I still had my old laptop computer in a closet (actually, the original desk-cam computer ALSO came back to life out of a closet), which I thought might be able to be used in a pinch. So, today I dragged it out, plugged it into all of the appropriate cables, updated and installed various bits of software, and now have a whole new computer running under my model desk!
Rest in Pieces, old model desk computer.
:(
Long live the new model desk computer!
The upside here, is that I've gained a great deal more leg room under the model desk and probably will save a little bit of electricity. Here's the current state of the model desk, including new computer and such:
That's all for now. Tune in next time for more engine progress and hopefully no further news about the model desk computer ;)
Cockpit Fittings
19 - June - 2011 - 21:45
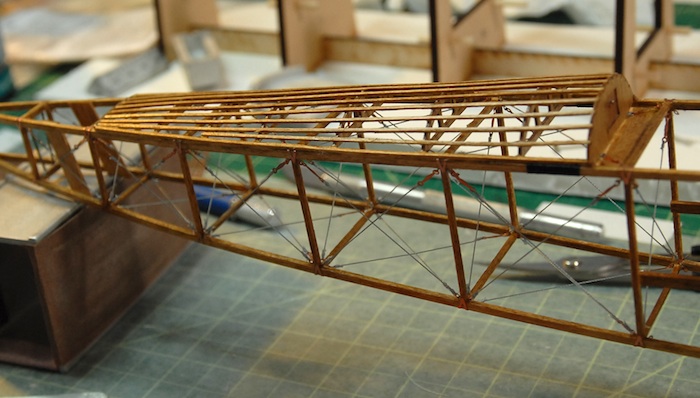
Picking up from the last post, the rigging for the fuselage is complete between the tail and the cockpit. I've left off around the cockpit so that it is easier to add various fittings, seats, etc.
First up in the fittings were the rudder pedals and their connections and mounting points.
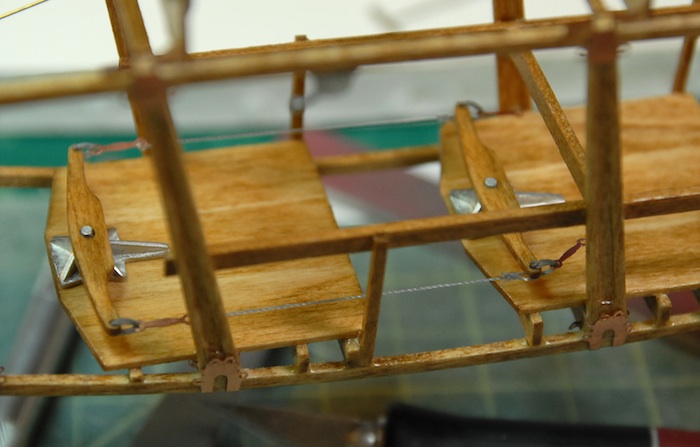
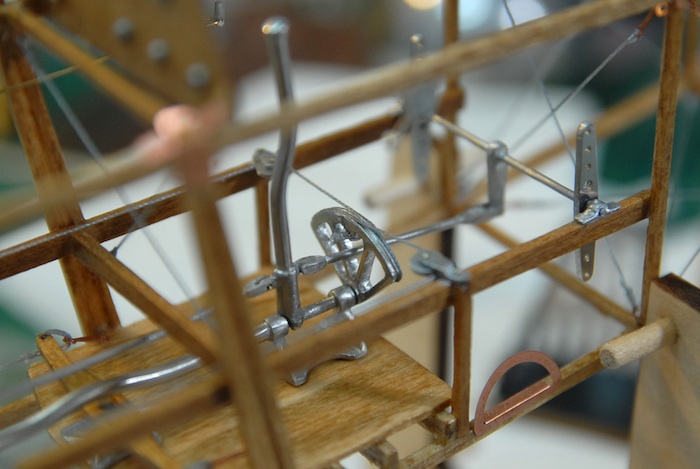
Those were followed by the control sticks and their various connections.
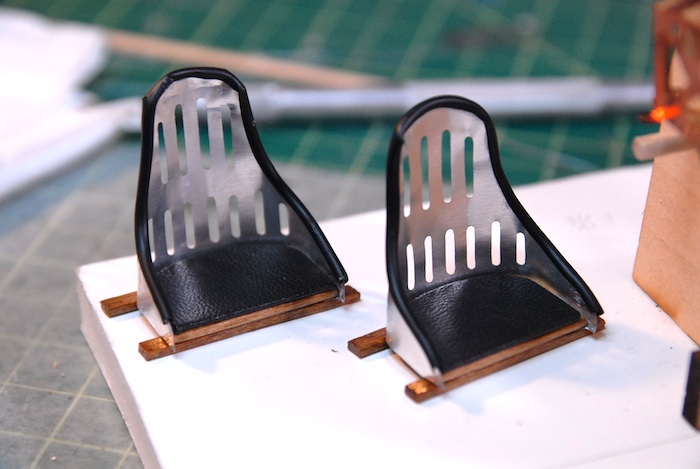
Next up were the seats. The kit came with photo-etch metal backs and wooden seats. The instructions mentioned that the real seats were covered with cloth on the backs and had pads on the seats. I decided that I should add a few of those extras to the seats on my plane. I had some tubing left over from a previous model that I used to line the edges of the seat backs. I feel that this had mixed results and I am not entirely happy with the results. For the cushions, I decided that I would find some leather-like fabric and wrap that around some wood.
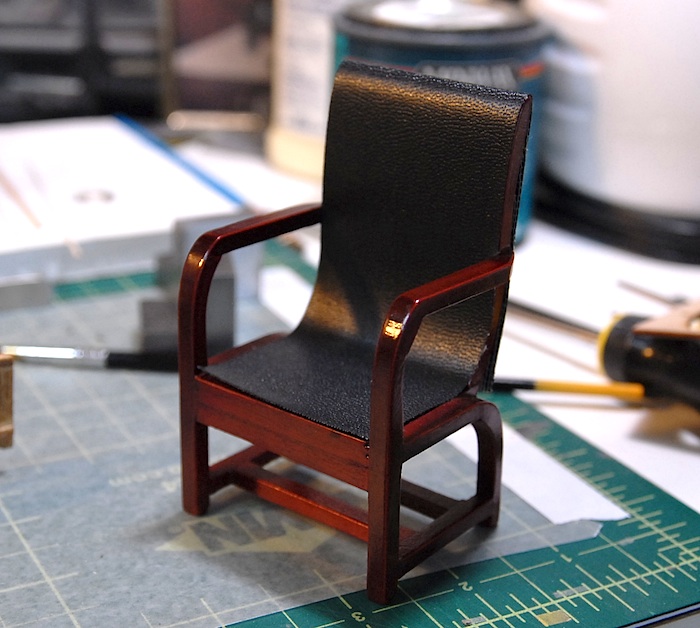
I went to my local hobby shop in search of such a material, but they didn't have anything like that for purchase. But I DID notice a dollhouse chair there, for about $8, that had the type of material that I was looking for. So, I decided that instead of going store to store, looking for what I wanted, I would just buy the chair and strip the cloth off of it.
Behold, the sacrificial chair:
And the end result of my chair-enhancing efforts:
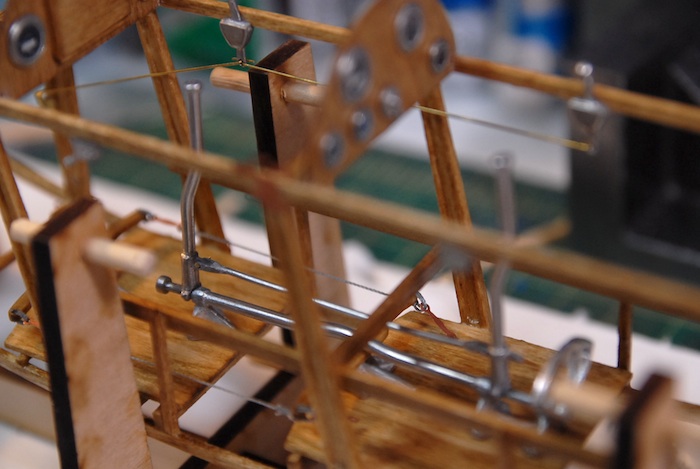
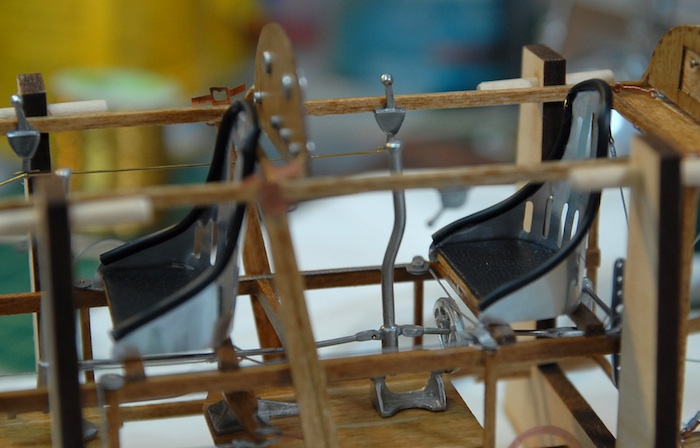
Before installing the chairs into the cockpits, I had to do just a bit of rigging. Here you can see the aileron control wires.
And finally, the seats installed.
With this done, I'm moving on to the engine and fuel tank. It's a fun-filled world of cast metal and sanding/polishing. Stay tuned for further adventures!
First up in the fittings were the rudder pedals and their connections and mounting points.
Those were followed by the control sticks and their various connections.
Next up were the seats. The kit came with photo-etch metal backs and wooden seats. The instructions mentioned that the real seats were covered with cloth on the backs and had pads on the seats. I decided that I should add a few of those extras to the seats on my plane. I had some tubing left over from a previous model that I used to line the edges of the seat backs. I feel that this had mixed results and I am not entirely happy with the results. For the cushions, I decided that I would find some leather-like fabric and wrap that around some wood.
I went to my local hobby shop in search of such a material, but they didn't have anything like that for purchase. But I DID notice a dollhouse chair there, for about $8, that had the type of material that I was looking for. So, I decided that instead of going store to store, looking for what I wanted, I would just buy the chair and strip the cloth off of it.
Behold, the sacrificial chair:
And the end result of my chair-enhancing efforts:
Before installing the chairs into the cockpits, I had to do just a bit of rigging. Here you can see the aileron control wires.
And finally, the seats installed.
With this done, I'm moving on to the engine and fuel tank. It's a fun-filled world of cast metal and sanding/polishing. Stay tuned for further adventures!