
Armed Virginia Sloop, pt3
15 - March - 2009 - 21:29
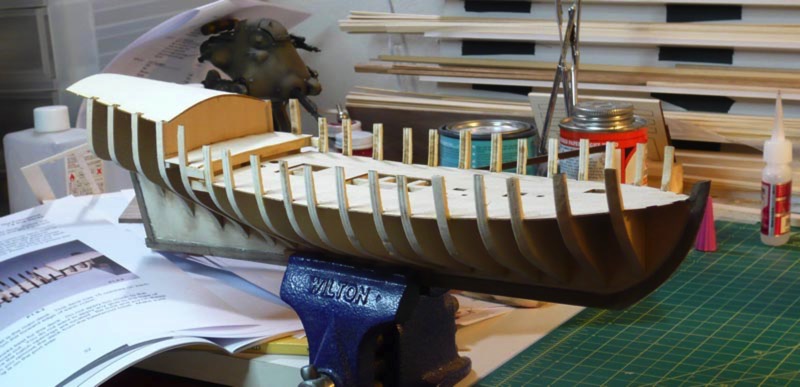
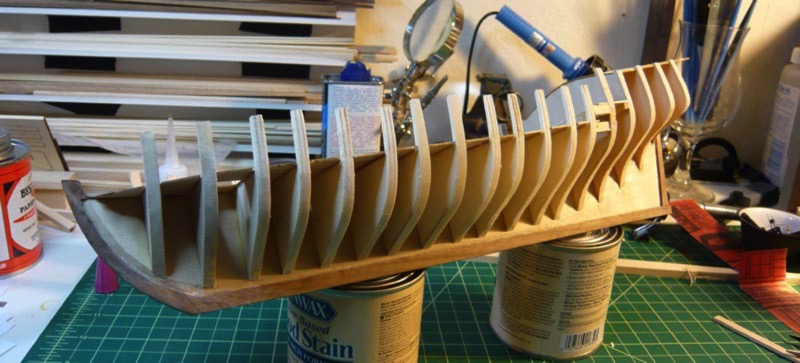
At long last I have an update for this build. I've managed to get most of the frame of the hull assembled. The actual assembly was pretty quick (it's easy to glue things together), but once things were assembled, there was a great deal of sanding and fitting to do to make life easier inlater steps. Apparently, this is called 'fairing' the hull. It mostly consists of taking a scrap strip of wood and laying it along the outside of the hull so that one can see which ribs stick up higher or are lower than the rest. Then one must sand down the high ribs or glue on strips of wood for the low ribs. Then there is more sanding, a bit of sneezing (turns out my nose doesn't like saw dust very much), then a bit more fitting and sanding. There is also a great deal of accidental breakage of tiny wood parts, followed by loud cursing and then some reglueing of those parts.
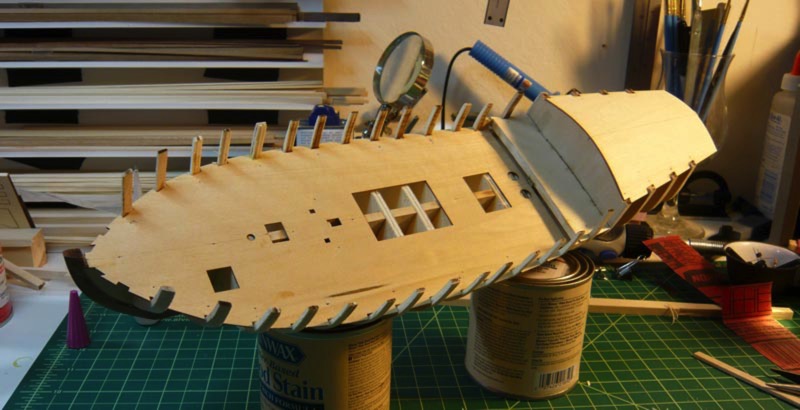
This is also where the course that I am following differs a bit from the instructions that come with the kit. The course had me attach the sub decking (just a thin sheet of basswood) before framing the rear cabin, in order to give strength to the whole ship. While the instructions suggested putting little support pieces between the ribs to give it strength, and doesn't have me put on the subdeck until after all the rest of the framing is done. I can appreciate that the course method saves me quite a bit of time that would have otherwise been spent cutting little blocks of wood, but I like to think I made up for it in time spent glueing pieces of that thin deck back on after I managed to break them off while working on a different part of the hull. ;-)
All in all, I think I've got the hull faired and am ready to move on to framing up the rear cabin of the ship. There is probably a better term for that part of a ship, but I can't remember it at the moment :)
Anyhoo, here are some photos of where I am now:
blog comments powered by Disqus